
I finally did it!
I finally tried my talent in making the Pop-N-Cuts Dress Form. My first Pop-N-Cuts die was with a Dress in it.


I liked it so much I decided to make another one but without the base die, so this is what I came up with


Then I made a few with a Cap and Gown for Graduations.


Then I needed a wedding card so I thought, why not. Why not try to make a DOUBLE Dress form in one card.
So I searched the net and I found a tutorial from Karen Burniston herself.
Now although I did follow her tutorial for the most part, but me being me, I made a few changes.
So this is what I came up with:

This is the front of the card. I used a DSP that has been retired for a while but because her wedding colors were a mint green, I wanted to make the card close to her colors. The scallop heard is cut from Stampin' Up! Heart Collectoin Framelits and the smaller heart is the retired Scalloped Heart of Hearts Embosslits. The bells in the upper right are made from the Blossom punch and then I put a few of the small paper flowers from the paper Daisies set. I found the small picture frame in my scraps collections so I printed a picture of the couple and put it in the frame. I couldn't believe it was a perfect fit. I guess it was just meant to be.

It took me several days to make but mostly because I have a hard time making decisions on paper, color, embellishments and so on.
So the mirror on the back wall is made from the Designer Frames Embossing folder (the oval one). I fussy cut it because we don't have a punch or an oval framelits that fits it perfect. However, I did use an Oval from the Ovals Collection Framelits.
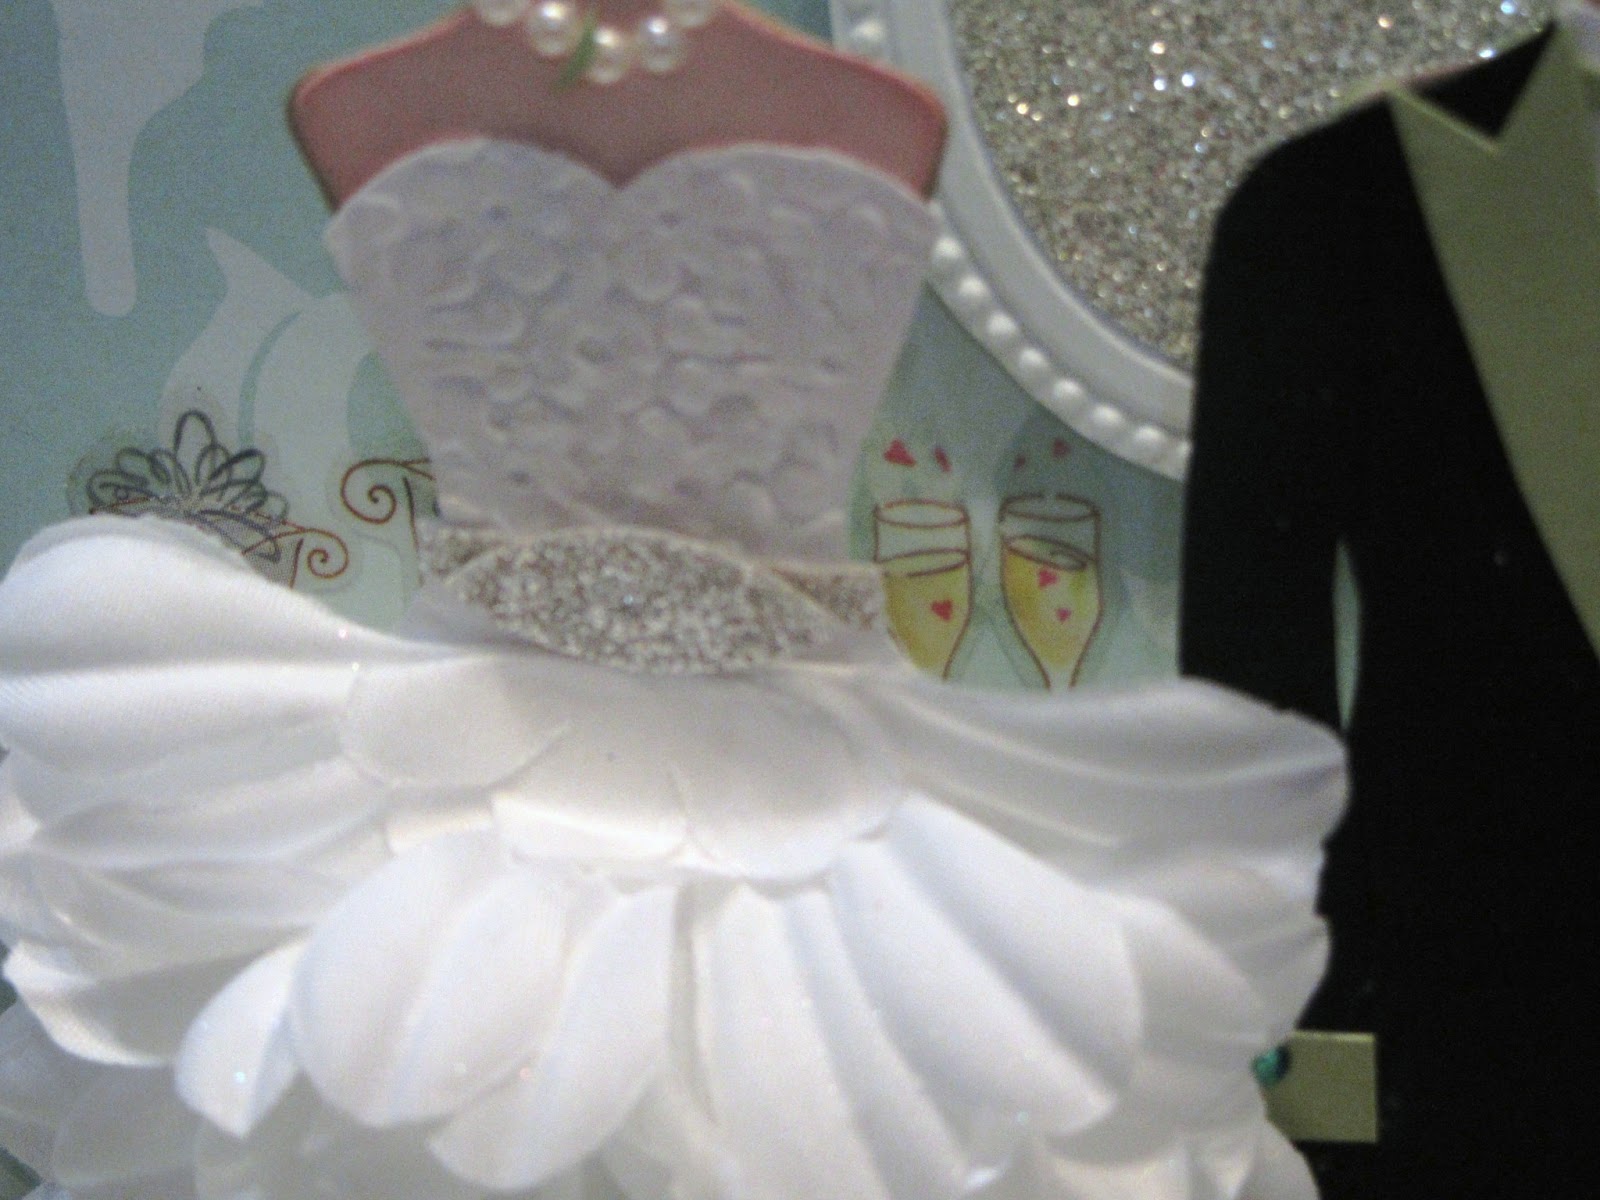
For the bride's dress, I embossed the top with the Delicate Designs Embossing folder, I used the snowflake one. Then I used the large flowers from the retired Silver Hodgepodge set. I folder the flowers in half and adhere them one on top of the other. I added pearls to her neck.
For the Groom, I got the tux template from Karen Burniston's website. However, me being me, I changed the color of the shirt from white to Pear Pazzazz and I changed the tie from a bow tie to a regular long tie because that is what the groom wore for his wedding.
On the floor, I used the Hearts collections Framelits to cut it out, but I folded it and made it like a card so I could write in it. On the top, I added another heart with a stamp on it (sorry I didn't get a good picture of it). I used a non-SU stamp on it but only because it said just what I as looking for in a stamp for this card.

This is a picture looking at i from above. I was trying to get a picture of the Marriage certificate and rings on the table next to the groom. Those are just stickers.


This was a lot of work, but I was pretty happy with the end result. Now I just wish I had made two of them at the same time. After all, how much more time would it have taken to make two while I was making the one, right..
Oh well, maybe I'll make another double dress form card some day in the future. For now, I'm happy to say that I made one and it came out pretty good.
One last look at my double-wide wedding Pop-N-Cuts Dress Form Die Card (and you can see the stamped heart in this picture)

Sorry for me patting myself on my back, so I'll stop now. LOL
Well, I hope this has inspired you to make a double Pop-N-Cuts card too.
Please leave me a comment to let me know how you like this card.
Thank you and Happy Stamping.


